Table of Contents
How to Set Curd in Winter: Making perfectly thick and creamy curd during winter can be challenging. As temperatures drop, the natural fermentation process slows down, often leaving homemade curd watery or partially set. However, with a few simple kitchen tricks, you can enjoy delicious, firm and creamy curd even on the coldest days.
If you are wondering how to set curd in winter, these seven effective tips can help you achieve the perfect texture at home.
1. Choose Full-Fat Milk
The quality of milk plays an important role in determining the texture of curd. Full-fat milk gives curd a naturally rich, smooth and creamy consistency.
Heat the milk and allow it to simmer for a few minutes to reduce excess moisture. This can help produce thicker homemade curd without adding artificial ingredients.

2. Maintain the Right Milk Temperature
One of the biggest mistakes people make while setting curd in winter is adding the starter to milk that is either too hot or too cold.
Allow the heated milk to cool to approximately 40–43°C before adding the curd starter. This temperature supports the activity of beneficial bacteria responsible for fermentation.
3. Use Fresh Curd as a Starter
Always use fresh, plain curd containing active cultures as your starter. Old or excessively sour curd may affect the taste and quality of the new batch.
Add around two tablespoons of fresh curd to 500 ml of warm milk and mix gently using a clean spoon.

4. Wrap the Container in a Warm Cloth
If you want to learn how to set curd in winter without special equipment, try this traditional kitchen trick.
Cover the container with a lid and wrap it in a thick towel or woollen cloth. Place it inside an insulated casserole to help retain warmth and encourage fermentation.
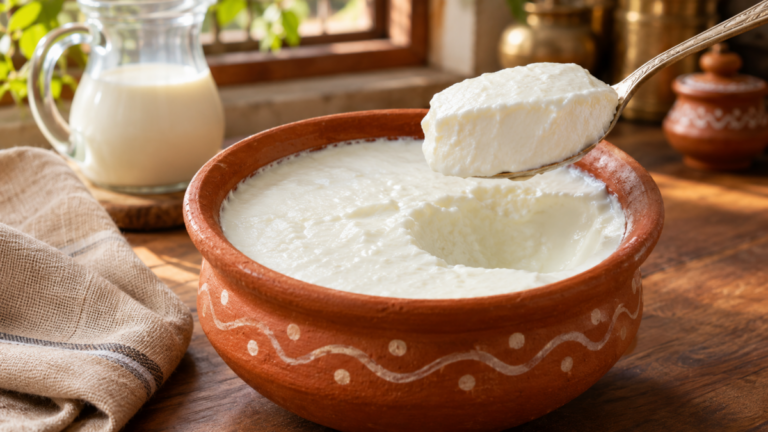
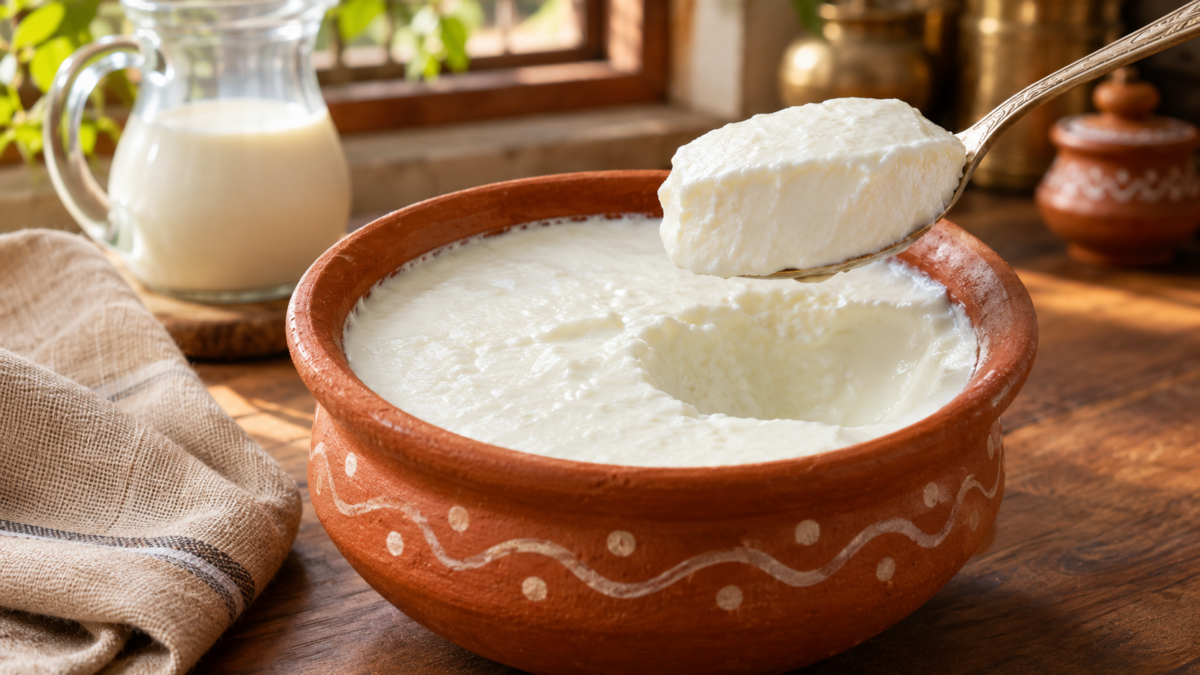
5. Use an Earthen Pot
Traditional clay pots help absorb some excess moisture, giving homemade curd a thicker texture and an earthy flavour.
Use a clean, food-safe earthen pot and keep it in a warm, insulated place while the curd sets.

6. Avoid Moving the Container
Once you have added the starter, avoid shaking, stirring or repeatedly opening the container.
Keep the milk undisturbed in a consistently warm environment for approximately six to eight hours. Depending on the temperature and starter culture, fermentation may take longer.
7. Refrigerate the Curd Once It Sets
As soon as the curd becomes firm, transfer it to the refrigerator. Cooling slows down fermentation, prevents excessive sourness and helps maintain its creamy texture.
Allow it to chill for a few hours before serving.

Common Mistakes to Avoid While Setting Curd
- Adding the starter to extremely hot milk.
- Using old or inactive curd.
- Keeping the container in a cold or open area.
- Adding too much starter.
- Disturbing the curd during fermentation.
- Using unclean utensils or containers.
If the curd fails to set or develops an unusual smell, discard it.
Conclusion
Learning how to set curd in winter is easier than it seems. By choosing full-fat milk, maintaining the correct temperature and providing a consistently warm environment, you can prepare thick, creamy and delicious homemade curd throughout the winter season. These simple traditional techniques can make your daily bowl of dahi even more enjoyable.